How to Check Your Motorcycle Before a Roadworthy Inspection

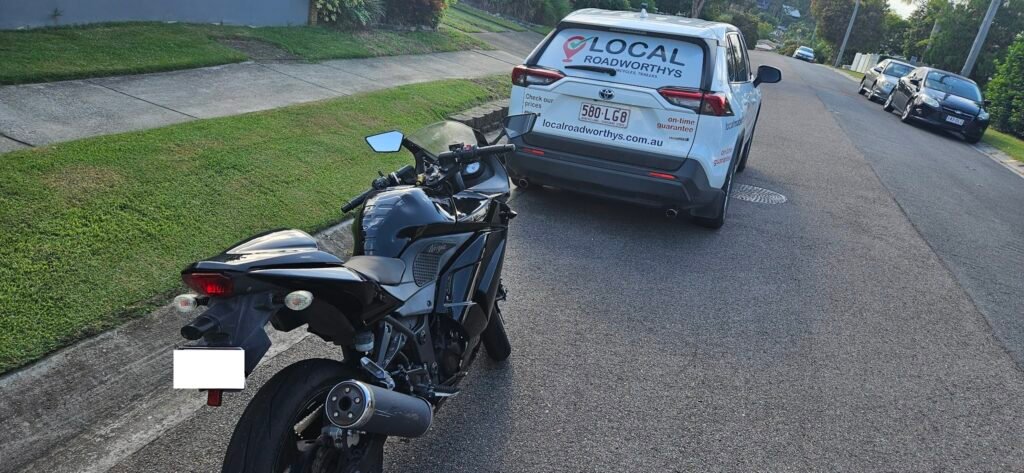
I inspected this Kawasaki Ninja 250 in Rochedale South today. Unfortunately this one didn’t pass. It failed for leaking fork seals, front brake disc and pads contaminated with fork oil, a brake light that was stuck permanently on because the front brake lever wasn’t returning fully – most likely caused by a faulty master cylinder from never changing the brake fluid – and a badly worn chain. The chain was completely dry, heavily corroded, and I could feel the uneven wear during the test ride. A chain in that condition is genuinely dangerous – if it snaps while riding, the rear wheel locks instantly and the chain can whip into the rider’s leg or get caught in the rear wheel. I don’t know how much longer that chain would have lasted.

Most of these issues could have been spotted by the owner before booking. Here’s a simple checklist you can run through yourself before your motorcycle roadworthy.

Mirrors

Your motorcycle must have 2 mirrors with clear rear vision. Both need to be securely mounted and not cracked. This is one of the easiest things to check and one of the simplest to fix if there’s a problem.

Lights

Check every light on the bike:

  • Headlight – parklight, low beam, and high beam
  • Tail light
  • Brake light – test with both the front brake lever and the rear brake pedal. Both must activate the brake light separately.
  • Indicators – front and rear, both sides
  • Number plate light

Non-working lights are one of the most common motorcycle fail points. A blown globe costs a few dollars. Check them all before booking and replace anything that’s not working.

Horn

Press it. Does it work? Simple check, simple fix if it doesn’t.

Tyres

Minimum tread depth is 1.5mm across the full contact surface. Check the centre of the tyre especially – that’s where motorcycles wear fastest from straight-line riding. Also look for cracks, cuts, bulges, or any damage. Old tyres that have been sitting for a long time often develop cracks even if the tread looks fine.

Brakes

Test both front and rear brakes. The front brake lever should feel firm when you squeeze it. If it touches the handlebar, the system has a fault. The rear brake pedal should also feel firm. If it goes to the frame, something is wrong.

Both brakes must activate the brake light – check this at the same time as testing the lights.

Chain, sprockets and tension

If your bike has a chain drive, check the chain tension. It should have about 1 inch (20-30mm) of play up and down. A chain that’s too loose or too tight will fail. Also look at the sprockets – if the teeth are hooked, worn, or missing, they need replacing.

Fork seals

Look at the fork tubes – the shiny chrome section of the front forks. Run a clean finger along each tube. If your finger comes back oily, the fork seals are leaking and that’s a fail. Oil from leaking fork seals also commonly runs down onto the front brake, which makes it a double problem.

Oil leaks

Look underneath the bike and around the engine for any active oil leaks. Check where the bike is usually parked – oil stains on the ground are a giveaway.

Dashboard and warning lights

Start the bike and watch the dashboard. All warning lights should come on briefly and then switch off. If your bike has ABS, the ABS light should go off after riding a few metres – it’s normal for it to stay on at standstill after starting, but it must switch off once you’re moving.

Any orange warning light that stays on while the engine is running is a fail.

Speedometer

Must be working. Take the bike for a short ride around the block and confirm the speedo is reading.

Quick test ride

If you can, take the bike for a short ride before the inspection. Listen for anything unusual. Do the brakes feel normal? Does the steering feel straight? Any strange noises from the engine, transmission, or suspension? A quick ride often reveals issues you wouldn’t spot standing still.

This list doesn't cover everything

These are the items you can easily check yourself before booking. A full roadworthy inspection also covers suspension components, steering head bearings, wheel bearings, driveline, electrical components, exhaust, headlight aiming, frame condition, chassis, and modifications. You can’t check all of these yourself without tools and experience – that’s what the inspection is for.

But by running through this checklist first, you catch the most common and cheapest fail points before I arrive. That gives your bike the best chance of passing first time.

Ready to book your motorcycle roadworthy? I come to you in Rochedale South, South Brisbane, Redlands and Logan. From $110.

Lets get my roadworthy sorted.

Free Roadworthy Preparation Guide and Checklist

Roadworthy Checklist: Get Your Vehicle Passed the First Time

Don’t risk failing your inspection for something simple. This checklist reveals the most common fail points and gives you easy-to-follow steps to make sure your car, motorcycle, or trailer is ready for inspection. + Bonus: How to sell your vehicle for a good price quick.

Free [x]

Lead Magnet Title Goes Here

Lorem ipsum dolor sit amet, consectetur adipiscing elit. Ut elit tellus, luctus nec ullamcorper mattis, pulvinar dapibus leo.